加入收藏
|
设为主页
|
在线留言
网站首页
关于戴勒
公司简介
解决方案
产品中心
honeywell
EXVIAL
新闻动态
公司动态
行业资讯
成功案例
成功案例
下载中心
产品资料下载
联系我们
联系我们
在线留言
解决方案
云视频会议接入会议室解决方案
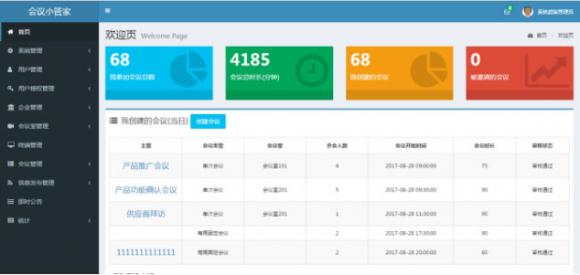
会议小管家会议预约管理系统室
大型报告厅系统解决方案
高效率小会议室整体解决方案
最新产品
最新产品
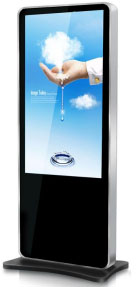
楼层导览屏
用于大厅、门口等关键部门显示会议室分布的主导览屏
数字门牌
会议预约系统门牌显示,用于会议室门前的会议状态显示
戴勒会议室预约管理系统软件V1.0
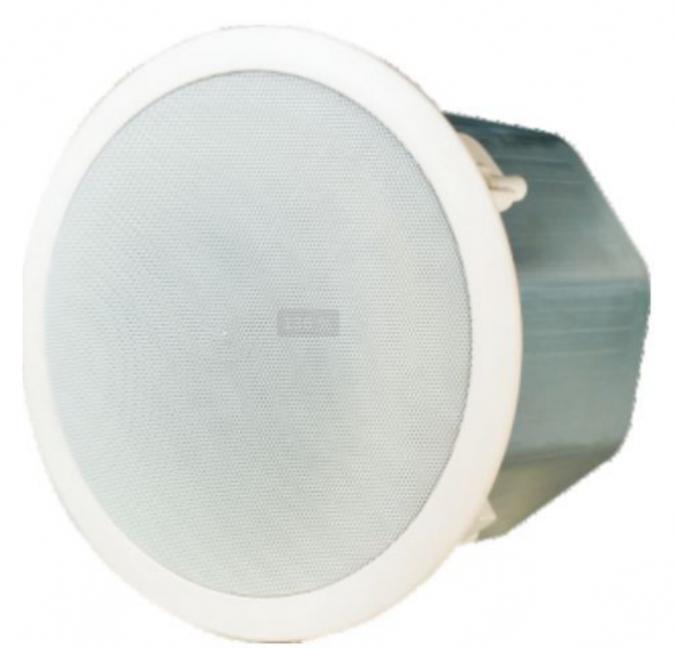
ET-CSL-C6 会议天花喇叭
会议天花喇叭
X-DCS2000 分布式智能系统控制器
业务范围
智慧会议系统整体解决方案,会议小管家会议预约管理系统、EXVIAL智慧会议管理平台;多媒体显示整体解决方案;智慧空间管理整体解决方案!
最新动态
EXVIAL智慧会议管理平台
戴勒会议小管家正式发布启用
2017第二十六届中国国际专业音响、灯光、乐器及技术展览会(灯光、
诚聘英才!
中国智能建筑&智慧城市行业交流暨高峰论坛(南京站)
关闭